How to Use Image Settings
STACKABLE BASICS
Master image settings within Stackable and you will create stunning websites in no time!
In this tutorial, we’ll dive deep into the different image settings available in Stackable.
You can add the image block by itself, nest it within a block, or add predesigned Stackable blocks that include the image block such as Feature, Feature Grid, and Image Box and more!

But apart from those blocks, there are other ways you could add images in a block – such as adding an image as a block background and a container background.
How to Add an Image Using the Image Block

To add your asset to the image block, just hover over the image or image placeholder until the cursor changes into a green plus button or you can select an image from the inspector.
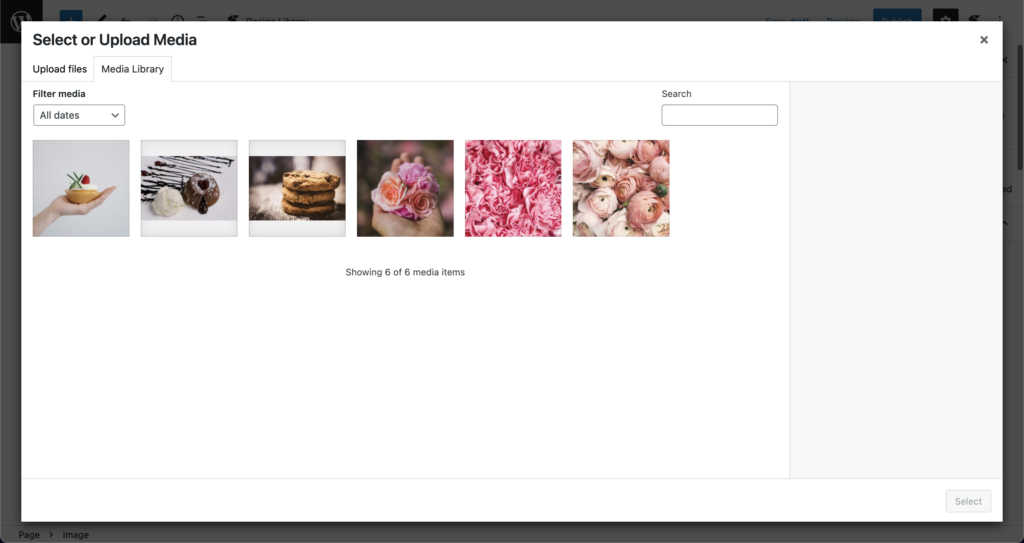
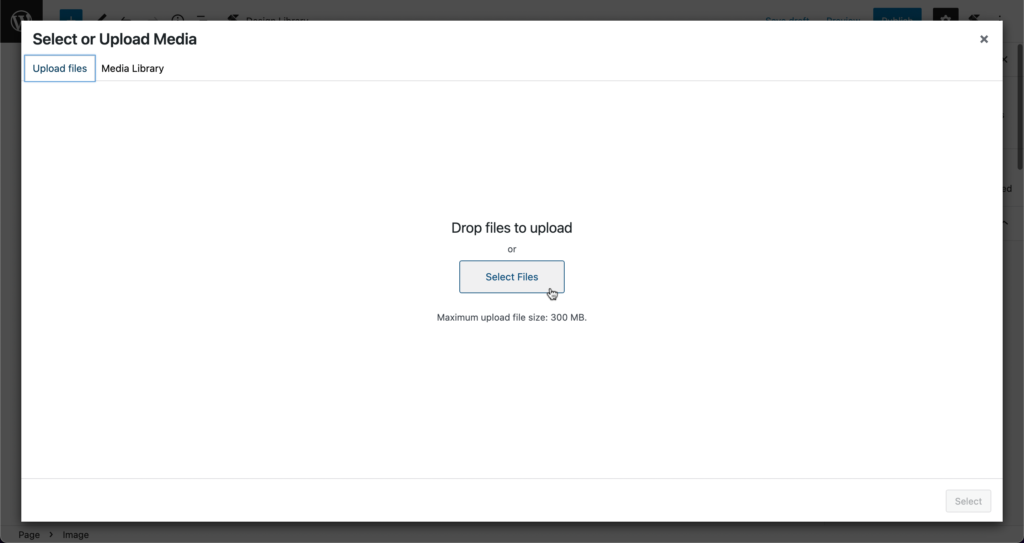
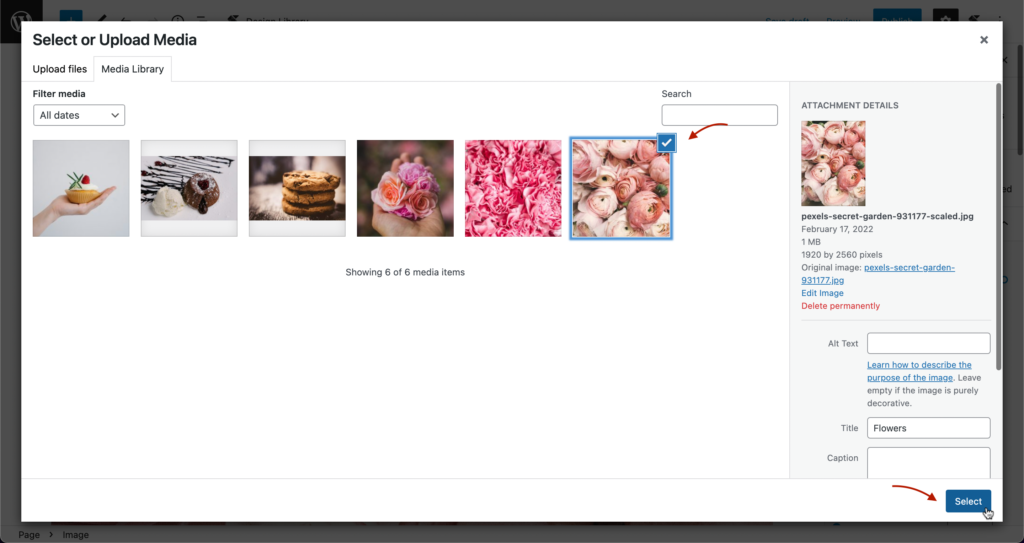
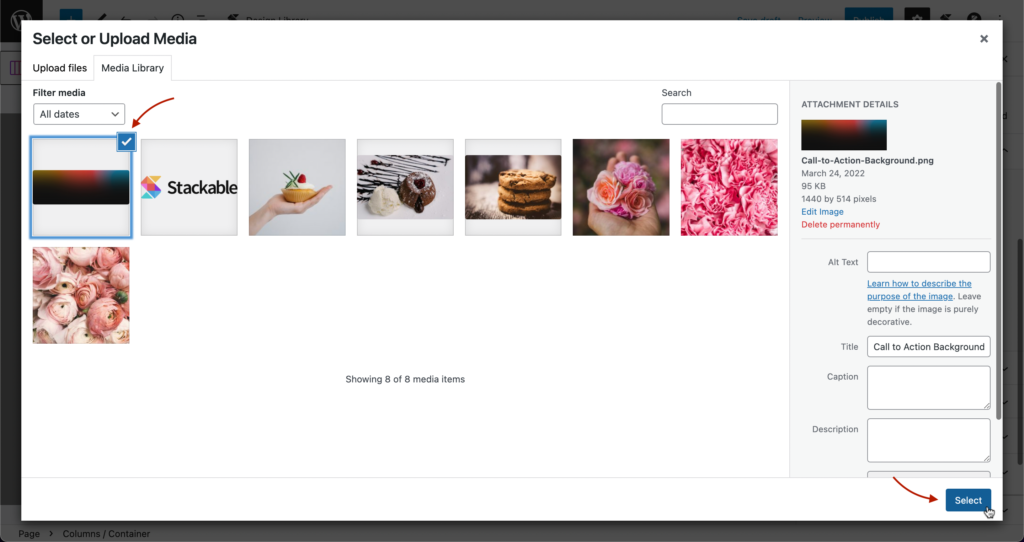
A modal will appear where you can upload media or select media you have previously uploaded in the media library. Simply click the select files button and select the image you want to use for the block.
The image will be added to your media library. Make sure it’s selected and click the Select button.
That should add your image to the block.

Adjusting the Image Sizes
The image block is very intuitive and flexible as you can adjust its width by dragging its handlers on the right and bottom sides of the block.
Or hover over the image to view the size indicator on the middle of the block. Click this and you will see a modal where you may input the dimensions you want the image to be in.
Styling the Image Block
Let’s first go through the image block styling options in the inspector
On the inspector panel on the right, you may adjust the width in different units of measurement like pixel, percentage, or viewport width.

You can change the width for different viewports so you can make your website responsive. Just click the desktop icon beside the width heading.
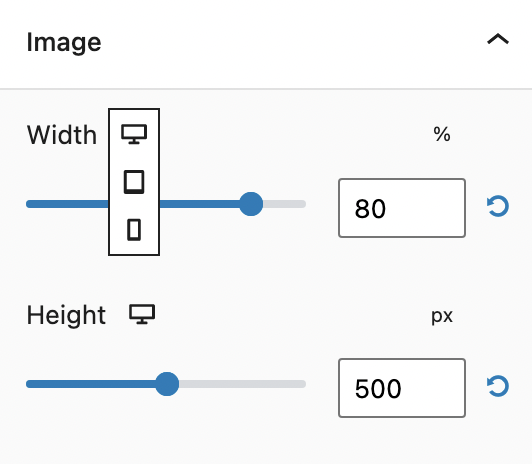
Adjusting the size of the image may be done either by typing the value in the text field or you can manually adjust it using the Image Width slider. The same goes for the height of your image block.
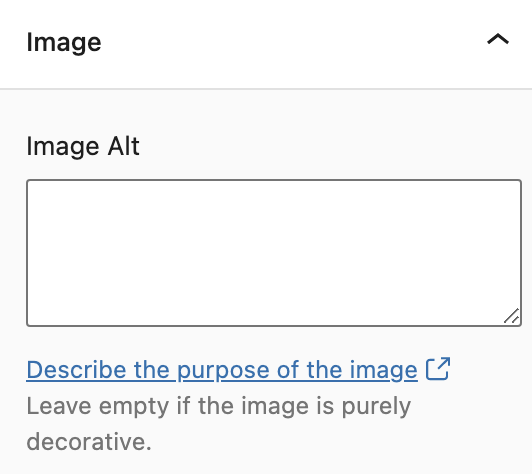
There is a text box for alternative text, which will be displayed in case your image fails to load, and for SEO purposes as well.
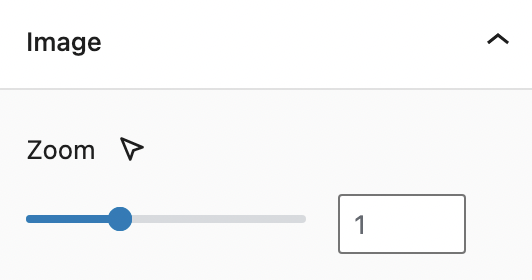
We have a zoom feature so you can zoom the image in or out.
There are hover styling options for this so you can change this setting for different hover states.
Hover state styling is available for many image settings. We’ll show you how to experiment with that later on.

Add shadows to your image using the slider or manually inputting the number in the text box.
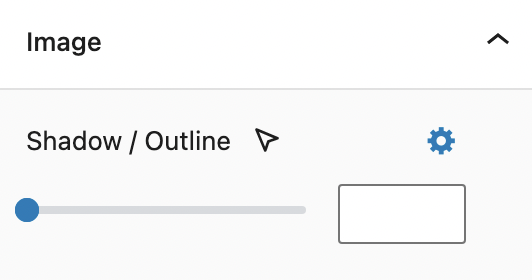
Image size sets the image display size to thumbnail, medium, large or full size. A smaller image size will load faster.

Next, the border radius lets you add rounded corners for your image.

The next setting is the focal point, which you can adjust by dragging around the focal point picker or by entering the values in the text fields. This setting also has responsiveness and hover state styling available.

Image fit tells the image to fill the block in a variety of ways such as contain, cover, fill, scale down, or none.

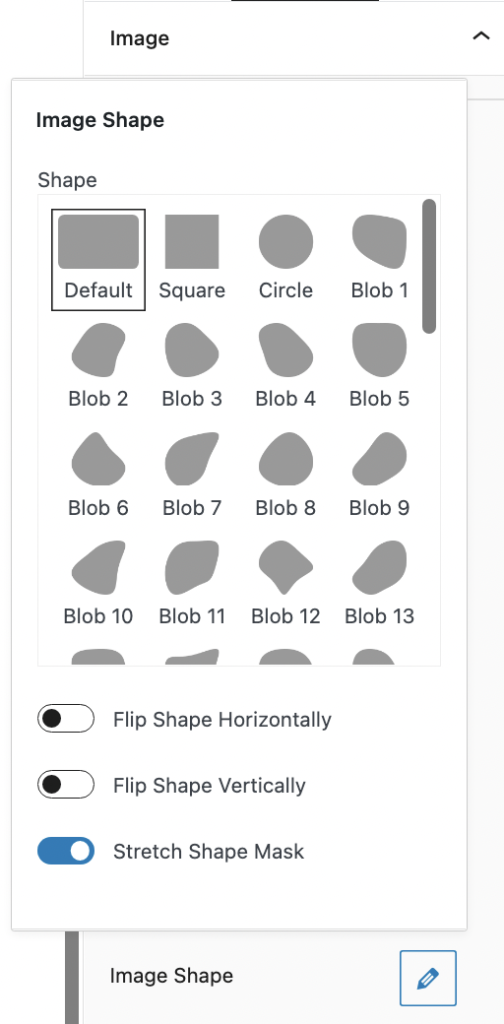
You can frame the image using different shapes. And you aren’t limited to that as you can even flip the shape around if you’d like.
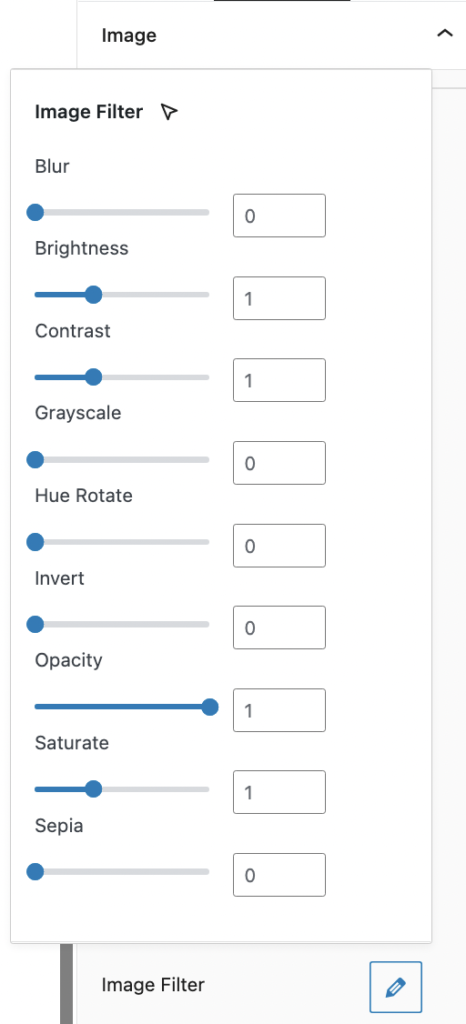
The image filter setting opens up a modal where you can modify the image effects and filters.
How to Add an Image as a Block Background
Make sure you select the block that you want to add a background image to. Click the Block tab in the Inspector, and find the Background panel.
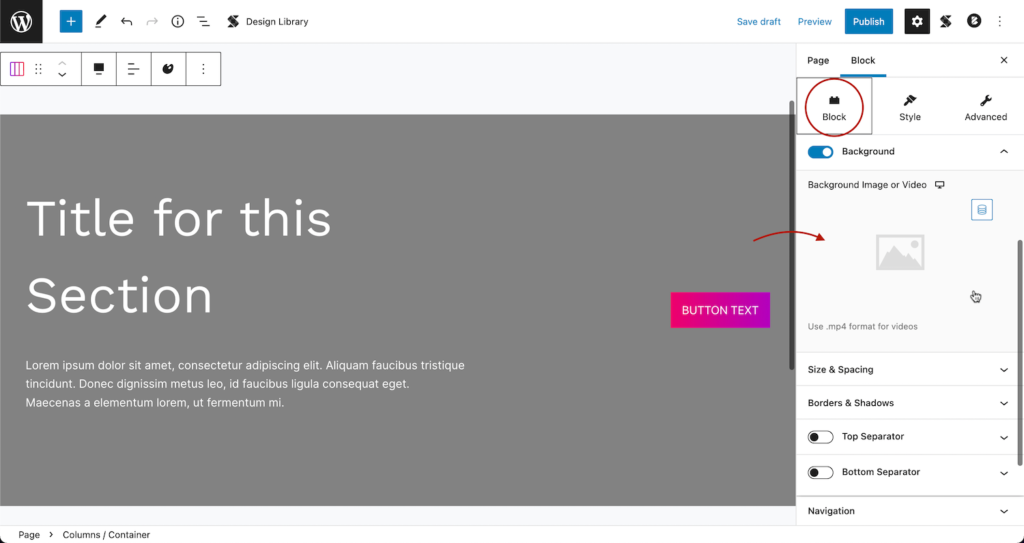
Just click on the image picker and you will be prompted again to select an image from the media library.
Adding an image as a container background
To add a background image to a container, make sure you’re selecting the container you want to add an image to. In the style tab, you will find the Container Background panel.
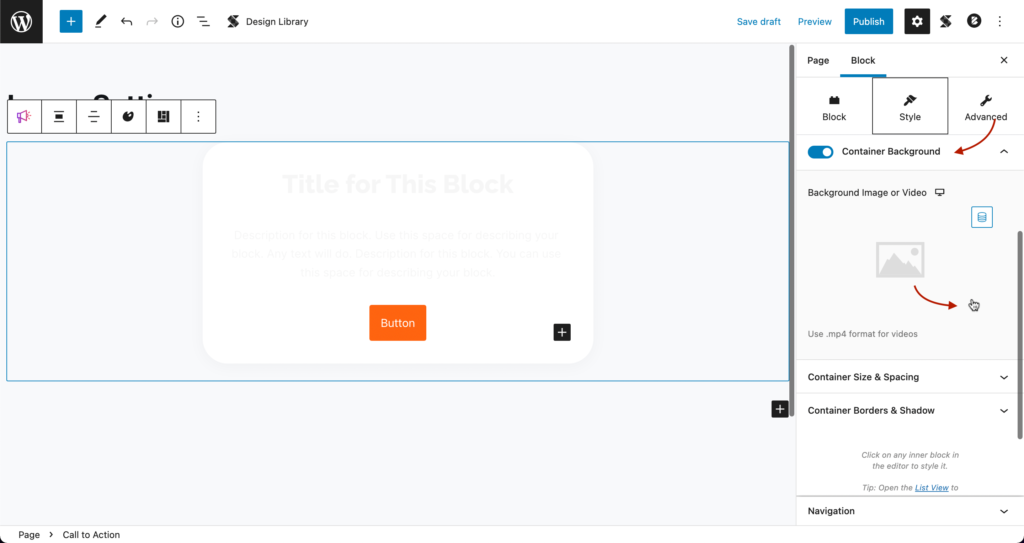
Click the image picker and select the image you want to add.

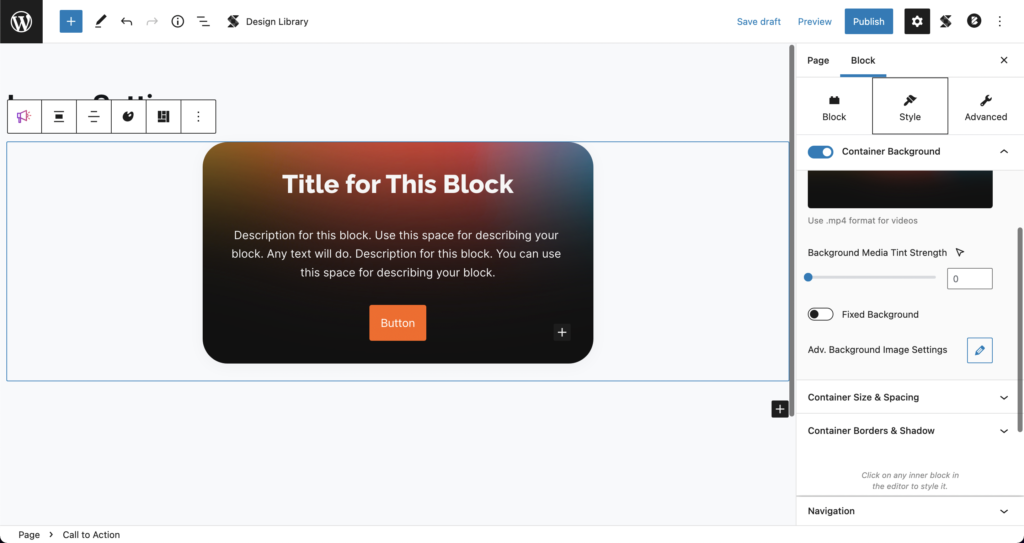
Background Image Settings
The container background and block background have the same image settings available.
The background color setting determines what color will be overlaid on the image.

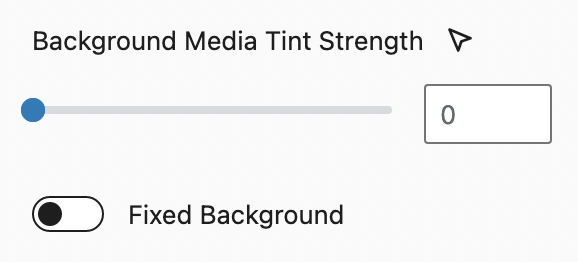
The background media tint strength option lets you adjust the opacity of the background color if you have added it to the block.
Stackable also provides an option to keep the background image fixed in place while scrolling.
You will see there are advanced background image settings. Clicking the pencil icon will prompt for a modal to appear where you could adjust the image to your liking.
The advanced image settings have four properties: image position, image repeat, image size, and image blend mode.
These properties already have default settings selected.

The image position property gives you more control on which part of the background image will be the focal point. Let’s set this to bottom left.
The image repeat property will tile the image. This is perfect for if you select a pattern as your background. For our block, we’ll select no-repeat.
The image size property adjusts the size of the image.
And lastly, the image blend mode sets how the image will blend into the background color.
Start Creating With Stackable
Get creative and use these settings to your advantage to make your blocks unique to your website’s personality!
Now you know the different ways you can customize image settings in a block. So go ahead and apply what you’ve learned here to your website! We can’t wait to see your websites that are #BuiltwithStackable.
Related Articles & Documentation
All About Typography (in Stackable)
PREVIOUSLY IN STACKABLE BASICS
By the end of this video, you will have a deeper understanding of all the typography settings within Stackable!
Copy Paste Styles
NEXT IN STACKABLE BASICS
Learn how to easily copy the styles of one block and paste it to another with just a few clicks!