Last Updated on July 22, 2021
Your landing page is your first chance to grab attention. Here is a guide on how you can easily create a landing page, along with some essential tips that would leave a great impact on your website visitors.
The online real estate landscape has grown rapidly. Business owners, marketers and media outlets put in all efforts to make sure online traffic is directed to their sites and their reach is strengthened. But regardless of the effectiveness of your marketing campaign, it will all be worthless if your site itself fails to convert.
How to Create a Landing Page with Gutenberg
Before the WordPress block editor was launched, creating pages and posts on WordPress took a whole lot of editing and coding. Building websites is now much easier as you can edit pages and posts visually and live. Follow these steps to learn how you can create a landing page with Gutenberg:
Set up your website
If you haven’t already, you will first need to choose a theme that you’d like to use. Many developers have contributed to the extensive theme directory on WordPress. You can select the theme you’d like on the Themes page. You can access this from your WordPress dashboard. On the left menu panel, just hover over Appearance > then select Themes.
Click on the Add New button on the top of the page to get to the WordPress theme directory. Explore the different themes available and select which one you like by installing and activating the theme. We’ll be using Stackable’s free theme as it’s perfect for the simple landing page we’ll be creating!
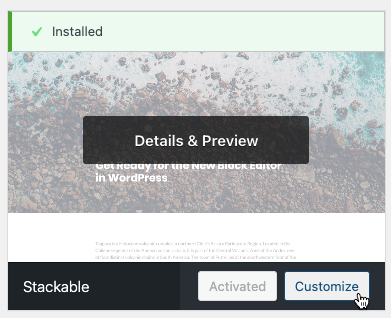
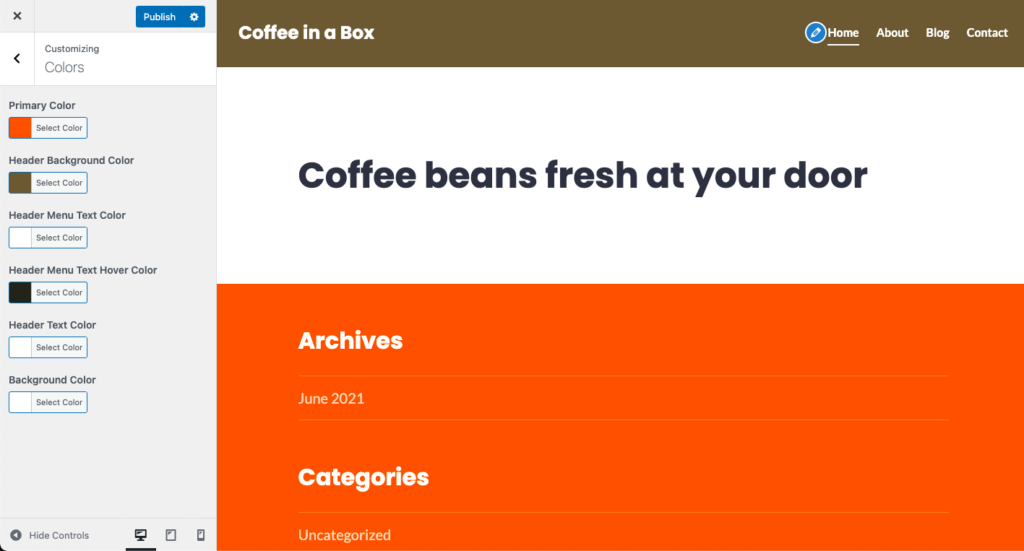
Once your selected theme is already activated, click Customize so we can make some personalizations to our theme in the Theme Customizer. Let’s customize our theme’s colors! Click on Colors on the menu and pick the colors that would be perfect for our website.
Your color palette is essential in establishing your brand’s persona. The colors you choose help visitors recognize your brand and set the tone of the entire website. This makes choosing the right color palette essential in making your landing page reflect what you are all about. There are now a lot of easy-to-use apps and sites to help you choose the perfect color palette for you. Coolors and Canva are some great tools that you can use to generate color palettes.
For this website, we’ll be using a color palette with earthy tones since we’re using a Coffee subscription business as an example.
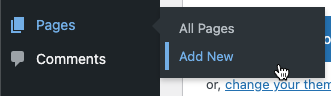
We can now create our blank page to start designing! You can add a new page from your WordPress dashboard. Simply hover over Pages and click Add New.
Design!
The WordPress block editor has a number of native blocks that you can use to build a simple landing page. To create this sample landing page, only the Heading, Paragraph, Image, Button, and Columns block were used.
Adding a hero image
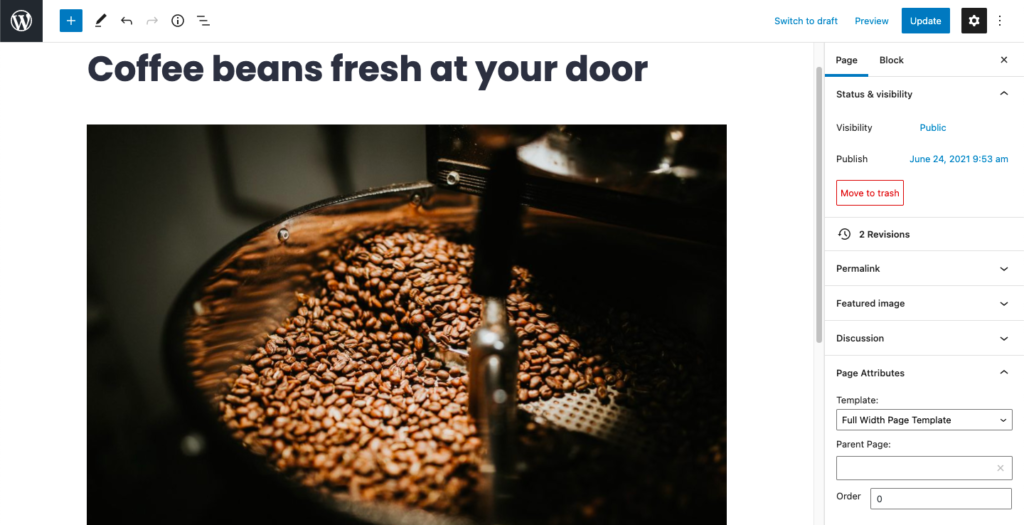
Let’s start by adding a hero image. Using pixel-perfect images for your landing page might be one of the most obvious tips, but it is also one that is taken for granted by a lot of web design novices and DIYers. People often think that media is secondary to text. Contrary to this, all your content–text, images, videos, etc. are all equally important, which makes using good quality images at the top of this list.
We can add an image by using the Image block. Click on the plus button and look for the Image block by typing Image in the search bar. Upload your image or select it from your media library.
Your image may look something like this:
Note though that a balance should be struck between using great images and heavy file sizes. Make sure your file size is not on the overly-heavy side so as not to affect your website’s loading time. You could optimize your images for the web by using image optimizers like ImageOptim, or Compressor.io.
Creating layouts with the Columns Block
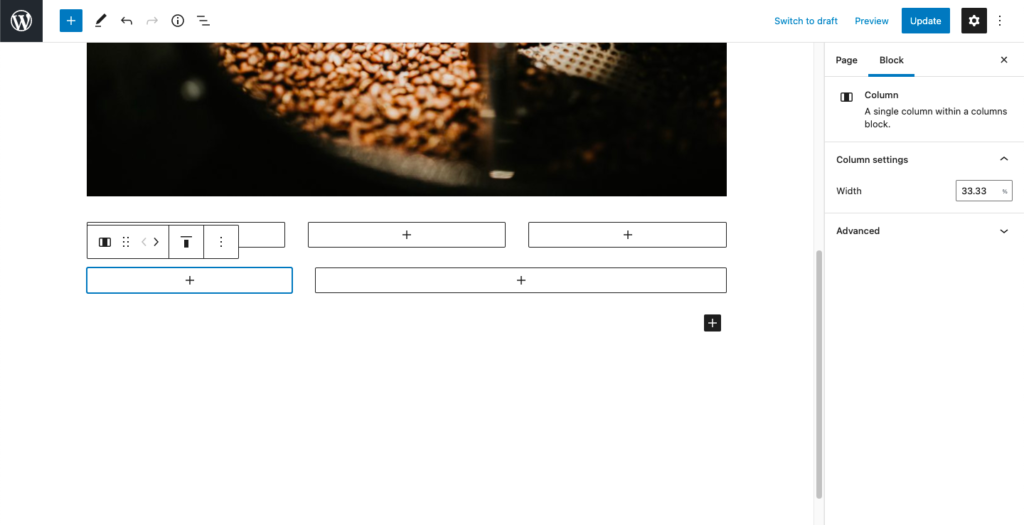
The first goal of any website is to convey your message–be it about yourself, your company’s brand, products and services you are offering or a worthy cause. Let’s add a section where we can detail how the service of our sample website works. In this example, we used the Columns block to create a more complex layout for our landing page. Let’s select the evenly spaced three-column layout for this and we’ll fill in the content later on.
Let’s add another Columns block where we can put customer reviews. Adding social proof will help boost the website’s authenticity and credibility. Let’s select the 30/70 two-column layout for this one.
Next, let’s add an evenly spaced two-column layout where we can add a Call to Action section. This section will prompt website visitors to move on to the next step in the user journey.

Finally, let’s add some Spacer blocks in between these sections. It’s important to keep the layout of your landing page clean by using whitespace. Whitespaces are negative spaces used in your layout. While you might be tempted to just fill your website with media and text, using whitespace correctly lets your design breathe and give your visitors a visual cue on what to focus on. This is especially great for landing pages so as not to overwhelm your website visitors.
Fill in your content
The first thing your website visitors will do is scan your content on the landing page. Even after the initial scan, most of your visitors won’t read all the details you’ve written. Research by the Nielsen Norman Group found that on an average web-page visit, visitors read only 28% of the content.
Given these statistics, it would be smart to avoid lengthy text and use strategies to draw eyes to the most important details by using the following:
- Headings (H1, H2, and so on) for headlines and section titles
- Bold, italic, underline to highlight your points
- Block quotes to highlight the main thought in a post or give emphasis to a quote
- Numbering and bullets to make information easier to absorb
With that said, let’s add headings to each of our sections!
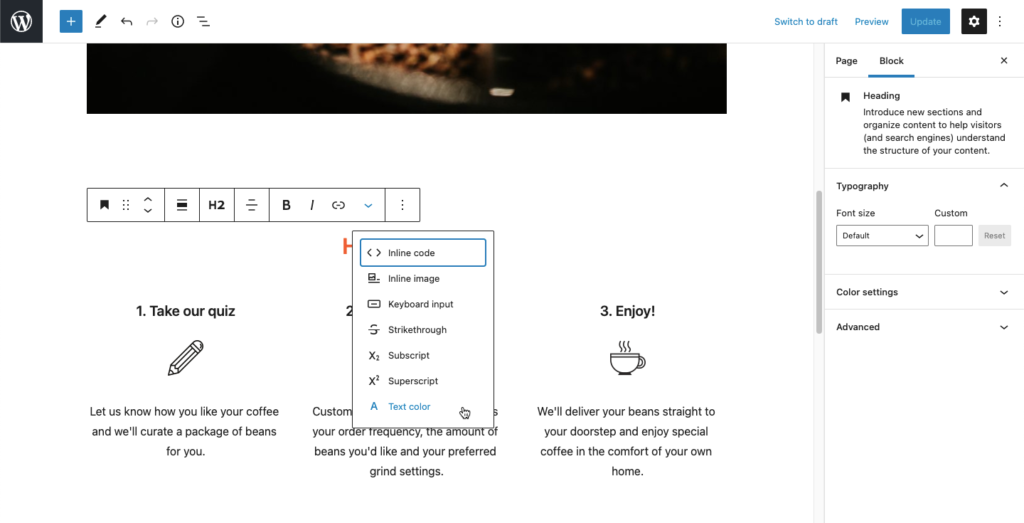
Now for the content! For the How it works section, we used the Heading block, the Image block to add some icons, and the Paragraph block to add additional information.
Using the toolbar, we can make some customizations so that we could put emphasis on our content.
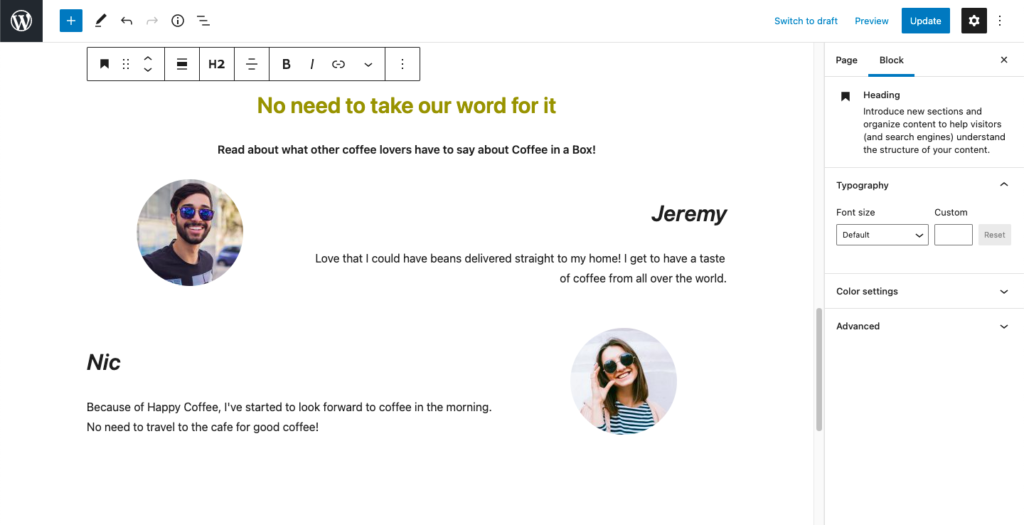
For the Reviews section, we used the Image block for the customer’s photo and set it to the rounded layout. We put this on the left column. Then on the right column, we used the Headings and Paragraph blocks to put their name and their “review” respectively. After some customizing, this is how it will look like:
After adding highlights and proceeding to details, you always need to zoom back out at the end of your page and prompt your visitors to do something else. End strongly by restating your value proposition with a good recap. Let’s use a call-to-action to direct the website visitors to the next step of their user journey.
We used a Heading block again for the copy, and then the Buttons block on the right column for the Call to Action (CTA) button.
Now we’re done! To sum it all up, here’s a simple landing page that we were able to achieve using Gutenberg, the WordPress block editor.
Make Your Design Responsive
Websites are increasingly being viewed through mobile devices, making it all the more important to make each landing page responsive. Cross-posting in different social media platforms and multi-screen dimensions is already the new norm. It’s important that you create a landing page that will look great across the usual aspect ratios.
The WordPress block editor has a built-in feature wherein you are able to preview your page in different device dimensions. This allows you to make sure that your page is responsive. This is how our page looks in a mobile device:
Some additional tips in creating a landing page
Possibly the most important tip of all, you need to design and create your landing page with real people–your target audience–in mind. All the tips above are secondary to putting yourself in the shoes of your readers. Always consider how your readers would engage with your content and try to anticipate their reactions.
To help you design your landing page with your audience in mind, ask yourself these questions:
- Does my content clearly show what I have to say?
- Will my audience understand my message/value proposition given how it is presented?
- Is my content easy to digest?
- When I first open my landing page, does it catch attention? Would it make my audience want to stay and scroll some more?
- Does my site prompt people to explore more or to do an action?
- Can I improve my page to make it easier to navigate so my audience can easily access the information they want?
Recap
Building a great landing page does not need to be such a complicated feat. As previously mentioned, we only used native Gutenberg blocks for this landing page! There is so much more you can achieve with Gutenberg as there are plenty of plugins you can use to elevate the user experience of your website visitors. You can use forms, pagebuilders (like Stackable!) and so much more. There are endless possibilities and opportunities to unleash your creativity!
A well-detailed article, thanks for sharing this informative article of yours.
useful guide
Hey Sanu!
Glad to hear this was helpful for you ☺️
Nice article.
I already used Stackable, but I will also use it for future landing pages !
That’s awesome! Thanks Vincent ☺️