
Last Updated on April 25, 2022
Do you need a WordPress website for your business? Do you have a small budget? Do you have $100? We’ve got you covered, we’ll teach you how to make a WordPress site on a budget.
If you want to generate leads and clients for your startup business or wish to share your ideas online, then you need a website.
Some of you might think that building a site is a daunting task. However, you’d be surprised that website creation is not only simple but also affordable.
For those who want to create a website with a limited budget and without the technical jargon, this extremely beginner-friendly article is for you.
At the end of this guide, you will know what tools you need in building a site and how much you should spend for everything.
Let’s begin!
Overview
Below is a quick rundown of things we will discuss in this article, which will help you create an affordable website:
- Definition of terms
- Deciding on a domain name
- Securing your site’s web hosting
- Installing WordPress and accessing your website
- Learning the basics of WordPress CMS
- Customizing your WordPress site
- Installing plugins to improve your WordPress site performance
In the sections below, we’ll also be breaking down the expected costs you need to shell out for each step (if necessary). This gives you the running costs you may have to worry about before you proceed to the next steps.
However, we’ll try to keep expenses as low as possible for now. After all, our goal is to create a site that’s less than a hundred bucks.
Definition of Terms
Before we begin, we must run through some terms we’ll be mentioning many times in the article.
This is important for beginners to know because the last thing they need are technical terms that’ll only alienate them from building a site.
So, let’s get these out of the way:
A website is a collection of pages stored in a web server that can be accessed using a domain name or URL on your web browser.
After accessing the web server, it will load those files on the visitor’s browser (Google Chrome, Mozilla Firefox, etc.) to show the web page.
When creating your site, we’ll need a content management system or CMS. This is where we will manage all the files pertaining to your site.
From here, you can change the site’s appearance and functions that fit your needs.
Among the many CMSs available, we’ll focus on setting up WordPress for your site (as suggested in the title). It’s one of the best website platforms available, but we’ll get into the reasons in the latter sections along with the other terms.
STEP 1: Deciding on a Domain Name
First, you need to secure a domain name for your website.
A domain name refers to the address (also known as Uniform Resource Locator or URL) that people need to type on their browsers to visit your website.
Buying a domain name normally costs $15 that you need to renew every year.
When looking for a domain name, keep in mind that there are different extensions for you to choose from. Examples of domain extensions include .com, .net, .org, and others.
For example, if you want to buy http://supermegaawesomewebsite.com but is no longer available, you can buy http://supermegaawesomewebsite.org or http://supermegaawesomewebsite.net instead.
However, it’s best to stick with .com since it’s the most common domain extension out there.
There are 148.7 million domain names registered to .com (the closest being .tk at 27.5M). Because it has the most sites using the domain extension, you also want to register a .com TLD for your domain’s URL.
This makes it easier for people to remember your name when typing it out on their browsers.
If you want to brainstorm for domain name ideas, you can use any of the following tools below:
Just enter your site’s topic and the tools above will show you suggestions of names and pick out the best one from the rest.
If you’re having trouble choosing a domain for your site, below are rules of thumb for you to follow:
- Make it unique – If you can’t use your actual company name, come up with something that will make your domain name stand out from the rest.
- Make it short and sweet – Short and readable domain names are easier to remember and type.
- Think long-term – Anticipate what your site will become in the future. If you choose restaurantreviews.com, then you back yourselves into a corner by reviewing restaurant food and amenities only. If you want to review other things soon, go with a domain name like realreviews.com or something similar.
Once you have a domain in mind, you need to register for it fast before someone else takes it.
Below are some of the best and most affordable places from where to buy your domain:
STEP 2: Securing Your Site’s Web Hosting
Once you have your domain ready, it’s time to find your web hosting provider.
If you buy your domain on some of the sites above, you will need to connect it manually to your hosting provider, which may not be the easiest thing to do.
Therefore, to create our site with the least amount of hassle, I recommend Bluehost’s Managed WordPress Hosting – Build Plan.
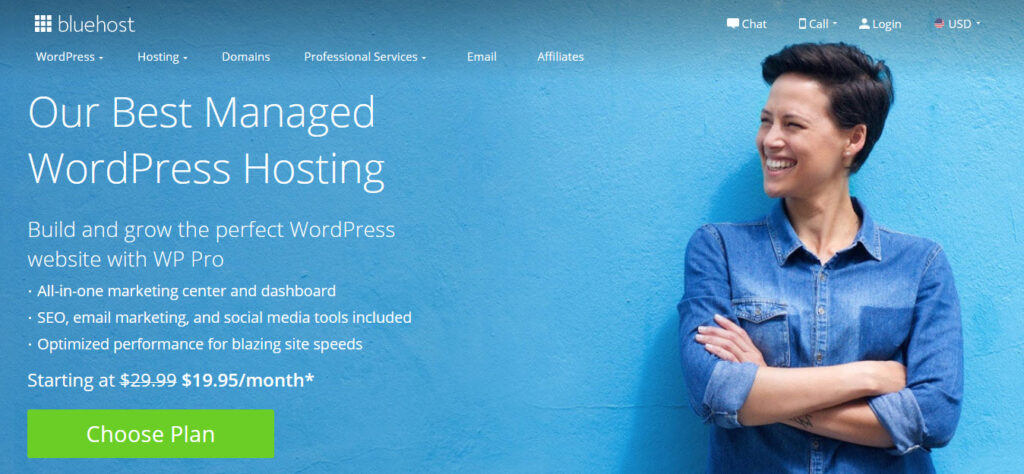
Bluehost is considered a value for money since they offer better uptime and loading speed. Bluehost also has better customer support, which is important for beginners who might need to hold their hand at every step of the way.
Therefore, if you’re serious in building a site for your project or business, go straight to Bluehost and enjoy its benefits from the start. Here’s a link to special Bluehost prices if you’re a Stackable user.
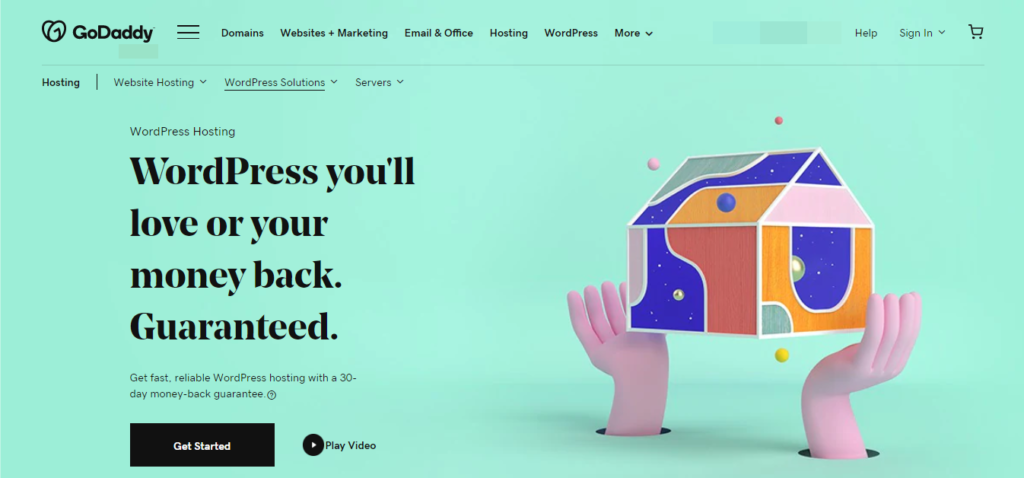
I also recommend getting GoDaddy’s Managed WordPress Hosting—Basic Plan.
If you’re wondering what a “Managed WordPress Hosting” plan is, I’ll break it down:
- Managed – GoDaddy runs your site and keeps it available for users to visit. It does this by saving your website in their computer and monitor its activity here. And if you need any help, you can ask their customer support.
- WordPress –This the content management platform we will use to publish your content online. For additional information about WordPress, WP101 has a great intro video on What WordPress Is.
- Hosting – Everything will be placed in GoDaddy’s servers, so everything can be accessed quickly and with almost no downtime.
When getting the plan from GoDaddy, they also provide you with a domain name for free. This is awesome since now we don’t have to do anything aside from signing up to get the full package!
As a bonus, you can also get email addresses by getting their Basic Plan. The first year is free, so this is an easy decision if you will use email to converse with customers and other people.
Check out this link below for more details on their plans (and no, they’re not paying me to recommend them):
Check out GoDaddy’s Managed WordPress Hosting Plans
Fill out all the details, find the domain name that you want (you don’t have to use supermegaawesomewebsite.com), then continue to check out and pay for it.
Here are other WordPress hosting plans you can check out:
I recommend that you sign up for at least one year so you can avail of their discounts. You can also search the web to check for any promos available.
Web Server Cost: $12.18–$59.88 for 1 year (the key here is to find a promo)
Email Cost: $0 for 1 year
Domain Name Cost: $0 for 1 year
Total Cost so far: $12.18–$59.88
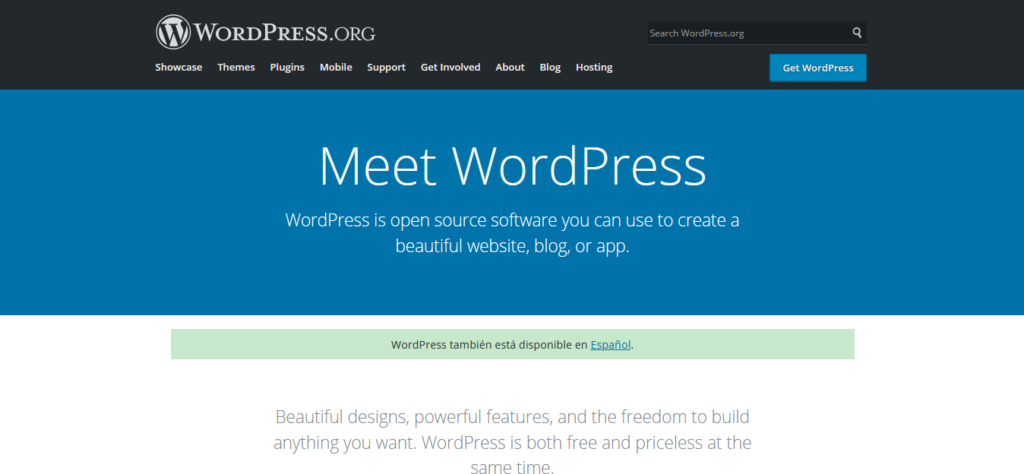
What is WordPress?
We’ve mentioned WordPress more than enough times in this article. I think it’s best that we finally tackle it in its entirety.
As mentioned, WordPress is a platform that helps you take care of your site. And among the different platforms available, WordPress is the most popular with over 39.6% of site owners using it, among other figures you need to know.
There are lots of reasons people use WordPress as their site’s platform. Below are a few:
- Customizable – You can set up a simple blog site or a complex online store using the platform. Only your imagination limits what you can do with your WordPress site!
- Feature-rich – You can power up your WordPress site using a wide selection of free and paid integrations to generate more traffic or revenue.
- Support – Because of its popularity, there are lots of information and troubleshooting guides you’ll find online about WordPress. So if you run into problems and issues when setting up your site, search Google to head on to their support forums to find the solution in an instant.
To be clear, we are referring here to WordPress.org and not WordPress.com. The former requires you to set your site up yourself while the latter takes care of the rest for you.
While WordPress.com is relatively easier for beginners, WordPress.org gives you more freedom and power to maximize your site’s potential. That’s why we’ll be discussing how to set up your site using WordPress.org in this guide.
STEP 3: Installing WordPress and Accessing Your Website
After you’ve gotten your hosting, then your site should now work fully. You can browse to your domain http://supermegaawesomewebsite.com and see your site.
Initial impressions of your site is that it might look.. empty.. and that’s normal. Don’t worry, let’s fix that up!
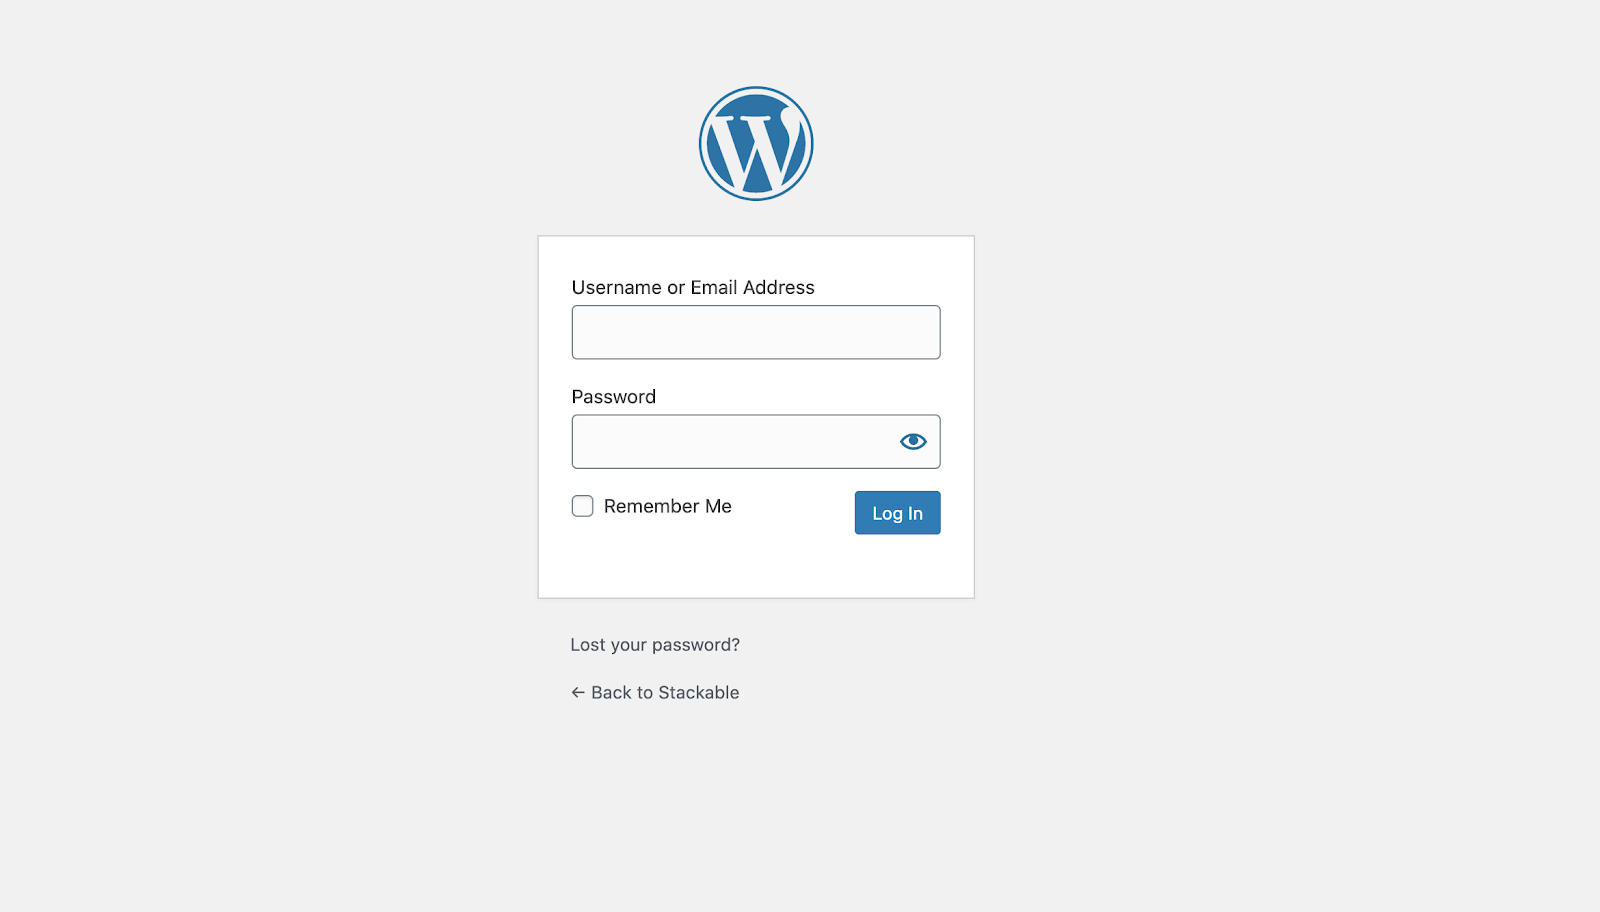
The first thing you must do is access the administration side of your website. If you can’t find it, you can add a /wp-admin at the end of your URL. e.g. http://supermegaawesomewebsite.com/wp-admin and log in from there. Once logged in, you’ll end up in your WordPress Dashboard.
GoDaddy and Bluehost have their own “Quick Setup” system to help beginners customize their site. I recommend going through this setup process if you aren’t familiar with how WordPress works.
STEP 4: Learning the Basics of WordPress CMS
Now it’s time to get familiar with WordPress. As I’ve mentioned earlier, WordPress is the platform you’re now using to publish your content. In other words: you log into your site, create pages and blog posts and hit the publish button.
The next step now is to learn how to use WordPress. If you haven’t used WordPress before, the dashboard is a bit of an information overload if you’re seeing it for the first time.

I recommend that you explore the different areas at your own pace. Take this opportunity to acquaint yourself with its basic features first so you don’t feel overwhelmed. After all, we’re not racing against time here, so you can take as much time as you need until you feel comfortable making changes on your site using the CMS.
If you need guidance, there are a lot of tutorials on how to use WordPress online too. One of them is WP101. WP101 makes things super easy by providing lots of tutorials in video format, and they have a vast library of videos that will teach you all the ins and outs of WordPress.
They have a few free videos on their site. For example, you can watch WP101’s video tutorial about the WordPress Dashboard.
Check out WP101’s Video Tutorials
Video Tutorials Cost: $15 per month (if you can obsess over all their videos within the first month, then you’re golden)
Total Cost so far: $27.18–$74.88
STEP 5: Customizing Your WordPress Site
The next step is to change the design of your site, to make it match your personality and/or needs. You’ll need themes for that. In short, themes are like “skins” for your WordPress site.
There are a ton of free and paid themes out there. If you want free themes, then there’s no doubt that the WordPress.org theme directory is your number one option.

Since there is a lot out there, it’s sometimes hard to find the perfect one for you.
But when choosing free themes from the WordPress repository, there are a few ground rules you need to follow. This ensures you get to use a beautiful and safe website theme.
- Review their descriptions – Each theme has a description that details their respective features. It’s best if you read these first to know if the theme fits your needs.
- Check the rating – The higher the rating, the more reason for you to use it.
- Check the number of downloads – Similar to rating, if lots of people have downloaded and used the theme, it goes to show that it works.
- Look at user-friendliness – Some themes are simple while others have a steep learning curve. Again, choose whichever you are most comfortable with.
The good thing about WordPress themes is you can delete them and choose a much better one that fits you best.
However, don’t spend too much time choosing the perfect theme for your site. The goal is to set it up properly so you can begin creating content.
Once you’re ready to take the plunge and purchase a premium theme, you need to know what to look out for the paid WordPress themes:
- Lightweight – Taking the “less is more” approach, a lightweight theme only contains the most important features to run your site. The result is a faster-loading and better-performing website.
- Responsive – Theme adjusts to the screen size of the visitor without compromising your site’s appearance. This helps engage your visitors even further.
- Secure – To keep your site away from malware and hackers, your theme should observe the best coding practices by its developers.
Keeping these factors in mind, below is a shortlist of premium themes that meet the standards above:
Lastly, there are theme shops that host hundreds of premium WordPress themes for your choosing. Similar to the free WordPress theme repository, you’ll have a field day looking for themes right for your site.
Some of these sites give you the option to subscribe for a period so you can download the themes and tools as many times as you need for the site. You can also buy the theme for a one time payment.
The downside of theme shops, however, is the difficulty of filtering which themes contain unnecessary features that could bloat and slow down your site, much to the detriment of your visitors.
For example, if you want to create a business blog, then you won’t need features such as related posts and social sharing buttons, both of which are only useful for blog posts.
Suffice to say, the features you need in a theme depend on the site you’re launching. By knowing what it is, you will have a good idea of the theme that best fits your needs.
Nonetheless, for the sake of fairness, below are different theme shops to search for premium WordPress themes:
Theme Cost: $0–$70 one time (I’d recommend looking for promos in theme shops too)
Total Cost so far: $27.18–$144.88
STEP 6: Installing Plugins to Improve Your WordPress Site Performance
As you create your site and continue to include content to it, you might want to add more stuff like contact forms, maybe some icons, a Google Map, or something else. For these kinds of stuff, you’ll need plugins.
As with themes, there are also a ton of free and paid options. And like themes, the number one choice for free plugins is the WordPress.org plugin directory.
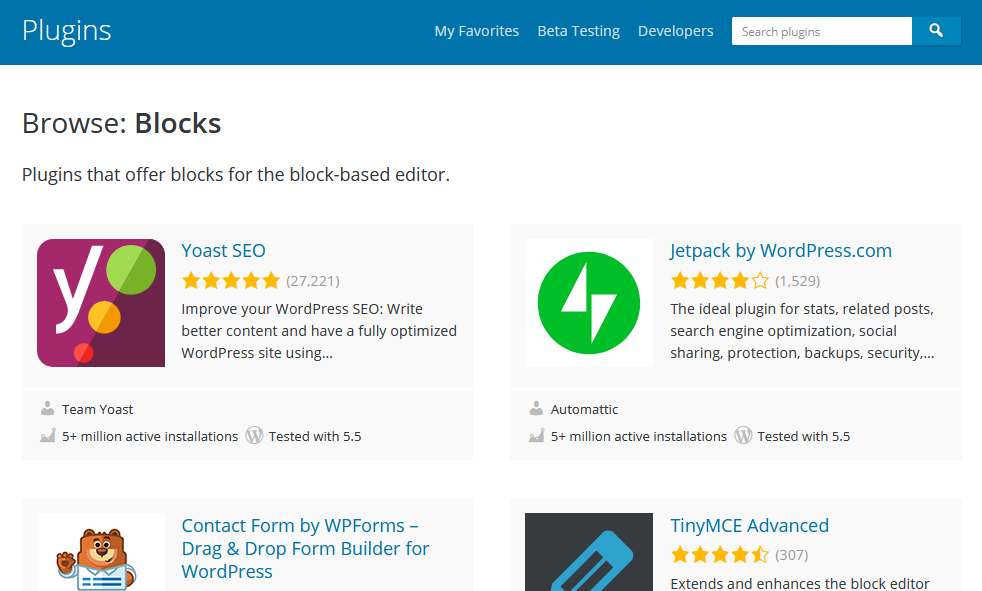
It’s a common saying within the WordPress community that if you need something in your site, “there’s a plugin for that.”
WordPress has now adopted a block-based editor to help you create site pages.
Also referred to as the Gutenberg builder, WordPress treats each element on the page (text, image, etc.) as a “block.” If you want to edit the content of a page, you can customize each block and make the necessary changes to it.
Using blocks, you now have better control on how you want your page to look before publishing it.
However, since it’s a recent development, not all plugins have block-based functionalities. This means you can’t edit or customize them using Gutenberg. Keep this in mind when choosing plugins for your site moving forward.
Now, if you’re a newbie and don’t know which plugins to download for your site, I suggest you get download and activate the must-use plugins below:
- WP Super Cache – Make site pages load faster.
- Antispam Bee – Filter spam comments from blog posts.
- Yoast SEO – Makes your website easier for people to search for on Google and other search engines.
- Smush Image Optimizer – Compresses and reduces image file sizes without compromising their quality to make your pages load faster.
- WP Sweep – Clean your WordPress database from unneeded files to help improve performance.
- WordFence – Protects your site from brute force attacks and other online threats. The plugin has a premium version that secures your site from even more threats – consider getting the paid copy of WordFence if you’re serious about your business.
- Contact Form 7 – Set up a contact form that people can fill out so they can reach you for questions or inquiries.
For premium plugins, you can also find premium ones in CodeCanyon.net. But I would recommend using the free ones above first.
However, if there’s any premium plugin I’d like to advise you to use, it’s Stackable.
As one of the premier page builders on the platforms that use Gutenberg blocks, Stackable allows you to create beautiful pages with a few clicks of a button.
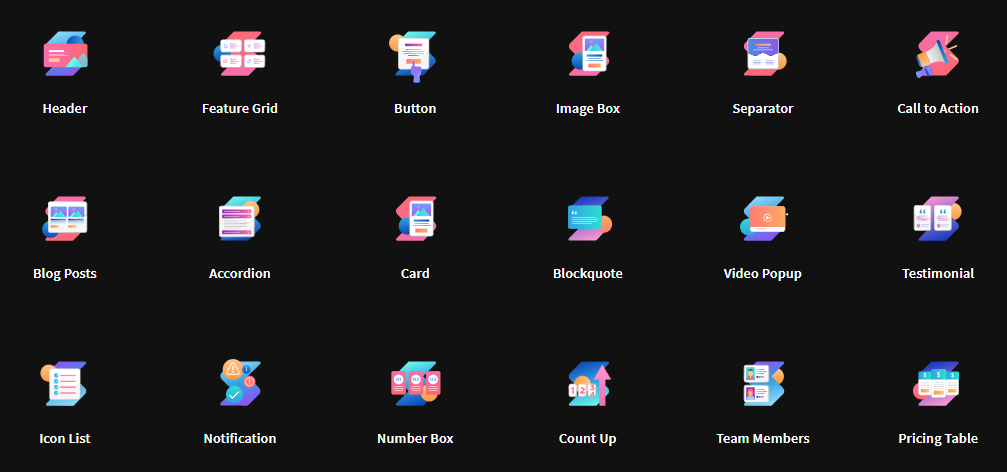
With its ever-growing library of 27 blocks ready for use, you can edit each with ease just by changing the settings on the right side of the screen.
More importantly, Stackable has built-in page templates to choose from. Just select the page you want to create and the plugin will show you different pre-made designs to recreate on the page.

The plugin is available free for download, but won’t give you access to all its features. The premium account costs $35/year, which makes you feel like a professional designer without learning any line of code.
This is a perfect solution if you want more control on creating pages on WordPress that your chosen theme can’t give you.
Plugin Cost: $0
Total Cost so far: $27.18–$144.88
Conclusion
You might have noticed that the total cost indicator is a range instead of a solid number. It’s because there are various ways to push the cost down, like watching out for promotions and opting for free themes and plugins.
So if you play your cards right, you can have your own site from scratch (powered on for a full year), for only $27.18
Most likely the succeeding years won’t be as cheap as the first year, but if you have your site up and running for at least a year already, then I would like to think it’s a success and the other future costs aren’t a problem anymore.
Hopefully, you’ve learned a bunch from this article. And if you didn’t know about WordPress before and you’re now a proud WordPress user, consider joining the many WordPress communities online. Just search for a WordPress group on Facebook.
*Some links in the article are affiliate links
Hey,
You did a great job man. Enjoyed reading the article above , really explains everything very well and also the article is very interesting and effective. This article gonna help me a lot. Thank you for sharing and good luck for the upcoming articles.