Font Awesome is one of the web’s most popular icon libraries and toolkits. You can depend on it to provide you with high-quality icons and retina graphics for your website.
And with WordPress Gutenberg helping its users create beautiful and functional web design much easier, the demand for equally stunning icons is higher than ever.
Lucky for you, we’ll discuss how you seamlessly integrate Font Awesome with WordPress. This way, you can feature its cons on any post or page of your site using Gutenberg blocks.
Aside from the benefits of using Font Awesome on your WordPress site, we’ll also mention some of the potential issues you might encounter with it.
Setting Up Font Awesome on WordPress
There are different ways on how you can set up Font Awesome on WordPress. Your choice will depend on what suits your needs the best.
That said, below are the ways to integrate Font Awesome into WordPress.
1. Set Up By Manually by Copy and Pasting your Kit Code
You can access your Kit Code from your Font Awesome account. If you don’t have one yet, you can sign up for free.
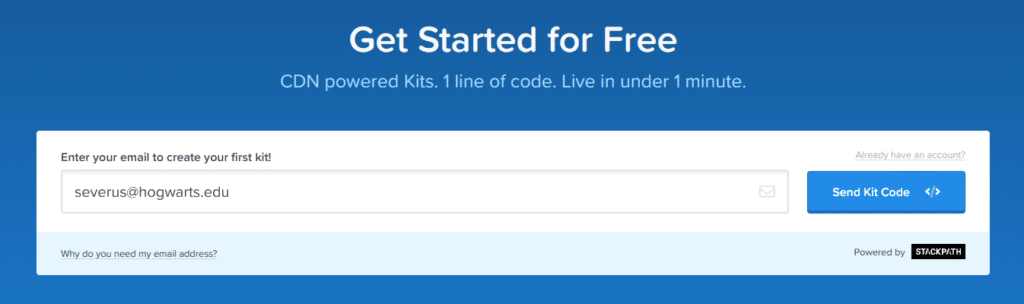
Upon and setting up your account further, you should see your Kit Code on your dashboard.

But before clicking on the “Copy Kit Code” button, you can serve the icons much faster and more efficiently.
Go to the Settings page and click on the Pro radio button for Icons and SVG for Technology.
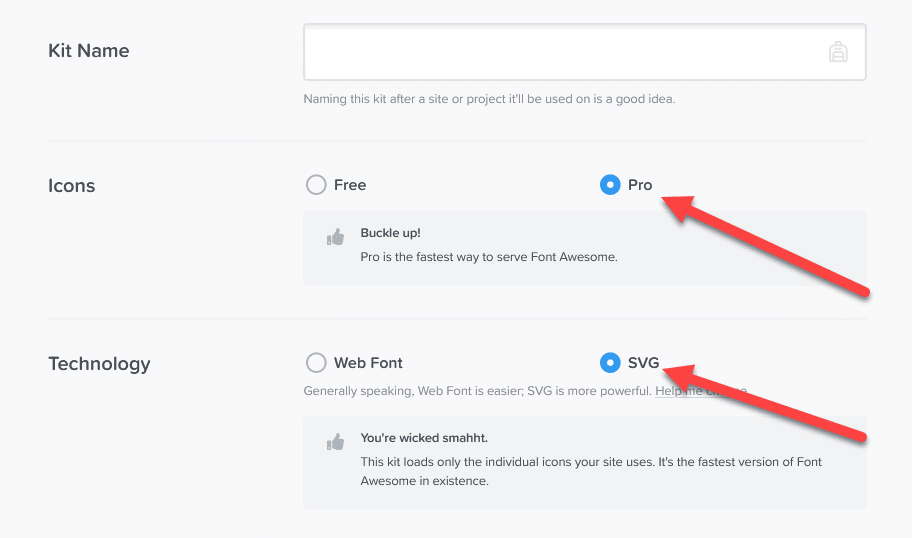
Not only do you gain access to premium icons, but you also enable automatic subsetting. What it does is load icons you’re only using for your projects, thus reducing API requests and improving your loading speed.
Regarding converting the icons to SVG files instead of web front, you have access to customize the appearance of icons, among other things. However, not all browsers will recognize SVG and show you icons properly. Keep this in mind when choosing between the two.
If you’re already using a plugin that allows you to embed code on the header section like the Insert Headers and Footers plugin by WPBeginner, you can copy and paste the Kit Code on the header section.

Save the changes to enable Font Awesome on your site.
2. Use the official Font Awesome plugin
There are lots of WordPress plugins that will help you serve Font Awesome icons on your site. One of the many plugins you can use is the official one from Font Awesome itself.
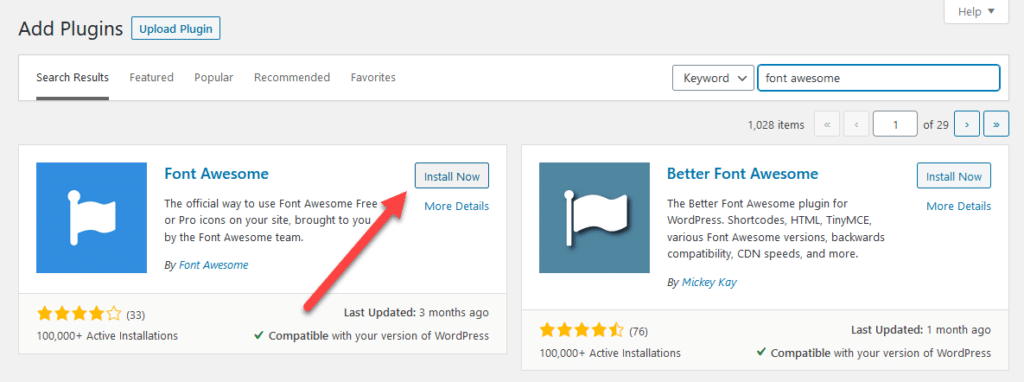
After installing and activating the plugin, you can tweak it to your desired settings.
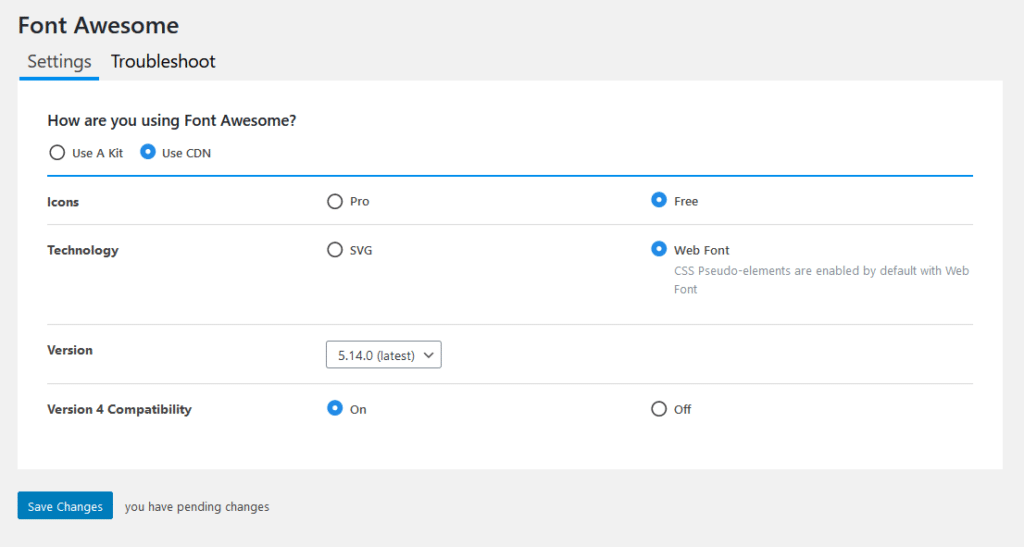
You have the option to load the icons from the Kit Code (similar to the setup above) or from a CDN. The latter doesn’t require you to create an account to access the Kit Code. However, the former serves the icons on your site much faster and more efficiently.
3. Link to externally hosted Font Awesome icons
To have full control on how to manage Font Awesome icons on your website, it’s best to host them on your server.
By hosting the icons yourself, you can only include files of icons that you will use on your WordPress site. This way, you keep the site lean and bloat-free, thus resulting in faster loading as opposed to going with a different route.
That said, this method is best if you have some web development skills. If you don’t know how to code, then you’re better off going with the processes mentioned above.
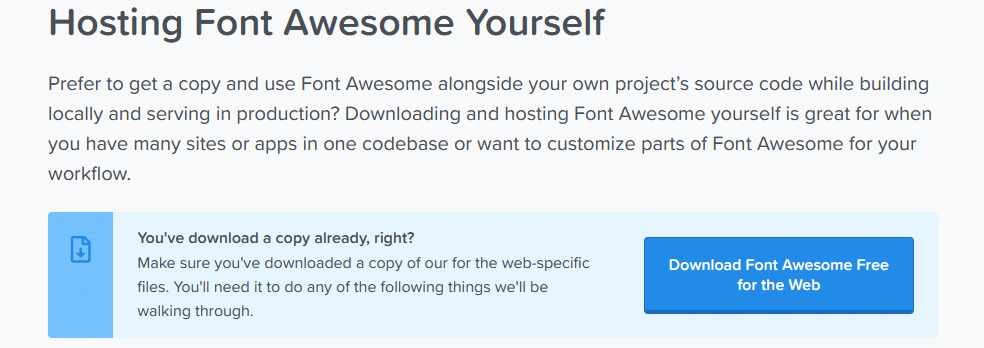
Go to this page and download the zipped file containing all the files you need to run Font Awesome. The page also shows you the exact steps on how to set up the files in your hosting correctly.
Using the Font Awesome Icons
Once you’ve set up the Font Awesome icons correctly, you’re now ready to deploy them on any of your WordPress posts and pages.
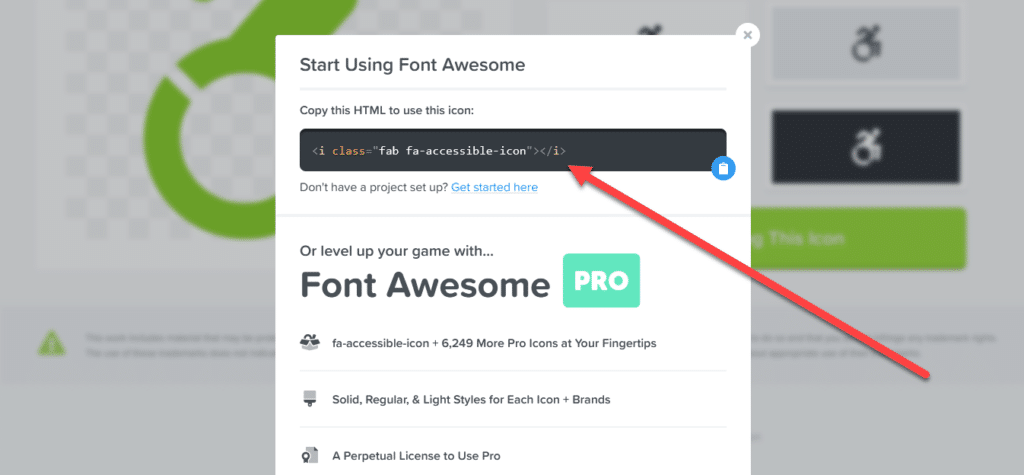
For starters, you need to know which one you want to use from the gallery.
Remember this page so you can get back to it whenever you need to find the right icon for you.
Once you’ve chosen the icon, click the “Start Using This Icon” button and copy the HTML code.
On the Gutenberg editor, use the HTML block under Formatting and paste the code there.
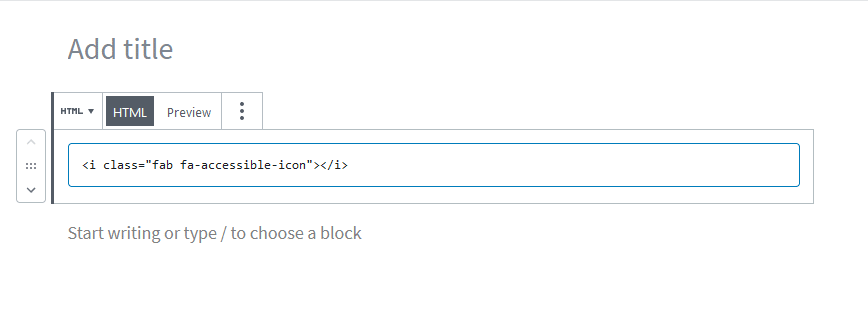
If you do it correctly, you should be able to see the icon on the preview page.
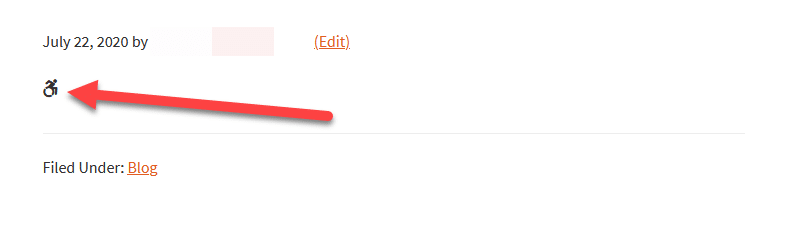
What makes Font Awesome great as an icon pack is the ability to customize and edit the appearance of the icons.
For example, adding “fa-5x” in the code results to making the icon five times bigger than its regular size.,
By learning the different commands to customize your Font Awesome, you can create more interesting web design and content for your site visitors.
You can view more commands by checking this page.
Making things much simpler using Stackable
We explained above the standard ways on how WordPress users can access Font Awesome.
While the process is simple and straightforward, customizing the icons is difficult especially if you’re not familiar with code. Suffice to say, it’s neither beginner- nor user-friendly.
To make using Font Awesome easier, the best way to proceed with that is by installing Stackable, our Gutenberg block plugin.
Unlike other plugins that offer customizable blocks, Stackable lets you choose from premium pre-made designs that match the quality of Font Awesome icons. Using both to create your pages and posts on WordPress, you can guarantee better site performance and more engaged website visitors.
Upon activating our plugin, use the icon block to access the Font Awesome icons you need on the page. Best of all, you can customize them using the styling options on the right sidebar.
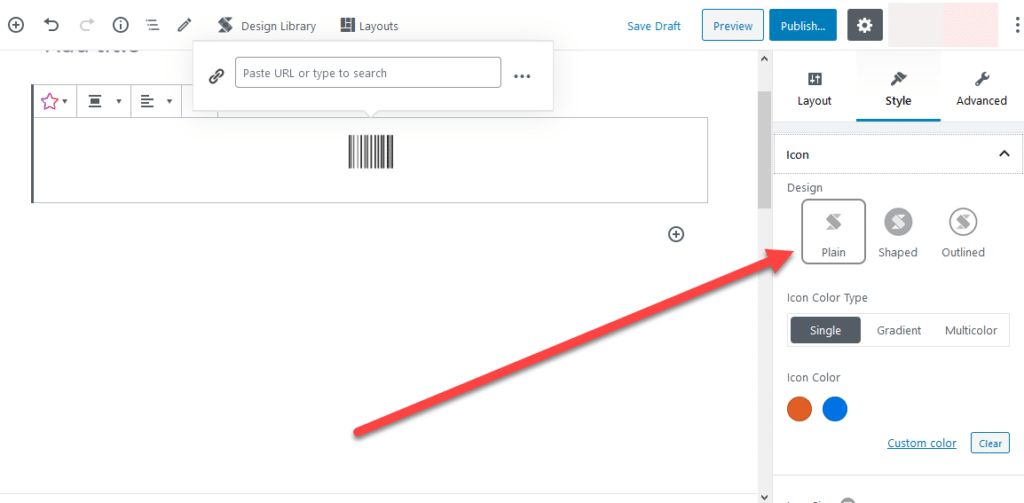
This is a game-changer because you no longer have to find the code of the icon, copy and paste it on the HTML block, and styling it manually. With Stackable, you can add icons and edit them like a professional designer even without the experience!
Also, You may have icons you want to use but are not available on Font Awesome. Thankfully, you can upload them as SVG files and edit them the same way as the other icons available in the library.
If you have a Font Awesome Pro account, Stackable Premium has your back. In Stackable Premium, you can copy the Kit Code and paste it on the Icon Library Section to enable Font Awesome Pro icons on your site.
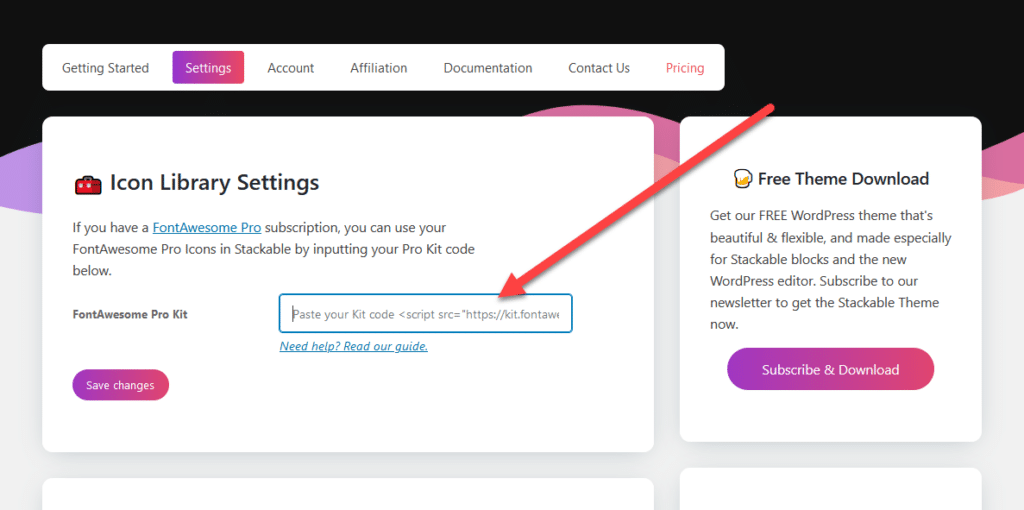
Afterwards, all your Font Awesome Pro icons would become available just like that.
Conclusion
As you can see, Font Awesome changes how you approach web design and even content creation. Using its dynamic and eye-catching icons, you can leave a more lasting impression on your site visitors.
And that’s even made truer if you use Stackable along with the icons. The plugin’s premade layouts lets you create beautiful pages with just a few clicks – no design experience needed!
In relation to Font Awesome, Stackable already has the free icons available from its icon block. Therefore, there’s no need for you to sign up for a Font Awesome account and create a Kit Code because the plugin takes care of it for you.
If you have a Font Awesome Pro account, Stackable Premium lets you paste your Kit Code onto its settings so you can access all the icons straight from the icon block.
Best of all, you can edit the appearance of the icons to your liking without any coding knowledge. This is available for the free and Pro plan.
So if you want to access Font Awesome icons and create good-looking WordPress pages using Gutenberg, then download Stackable by clicking here.
That’s great. But how do you put a link on it?
Hi Shannon! You can add a link to icons through the inspector. In the style tab, there is a panel called “Link” just toggle this on and add the necessary data.